This was a project we had done a few years back but they did a nice job with it and I was able to take lots of pics.
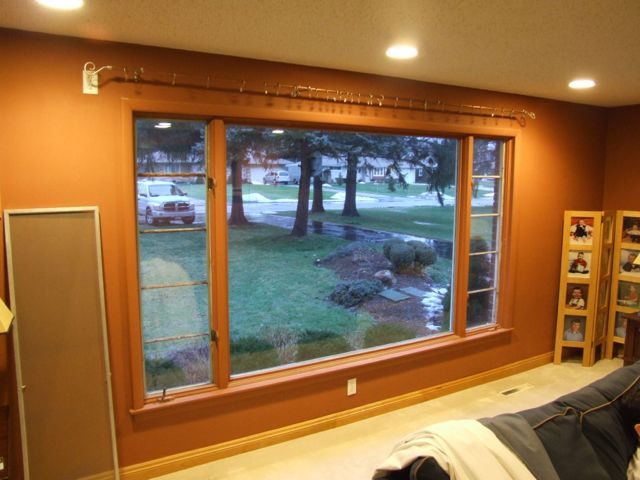
This was the picture window “before”.
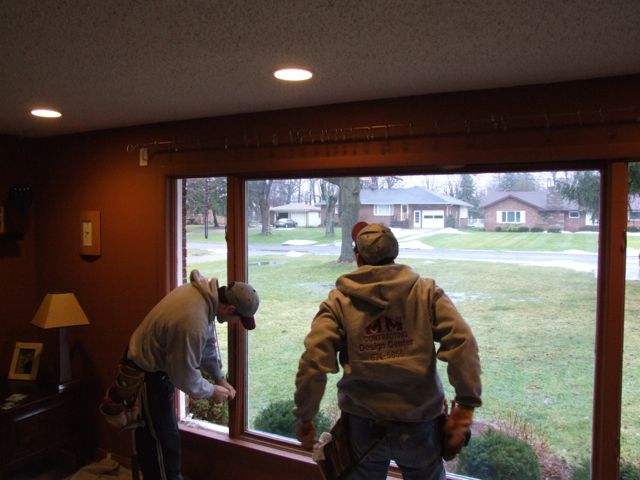
Here they start to peel off the trim to expose the nails holding the framing in.
Then the nails were cut with a reciprocating saw (not shown)
The 2 small crank out casement windows were removed first.
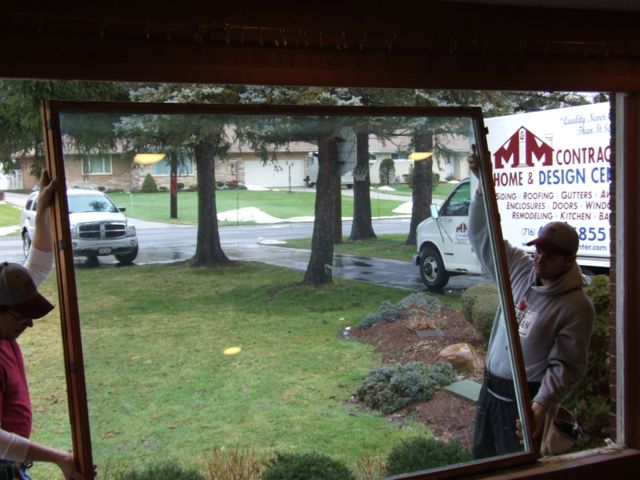
Then the heavy center “picture” portion of the wind was removed. Very heavy.
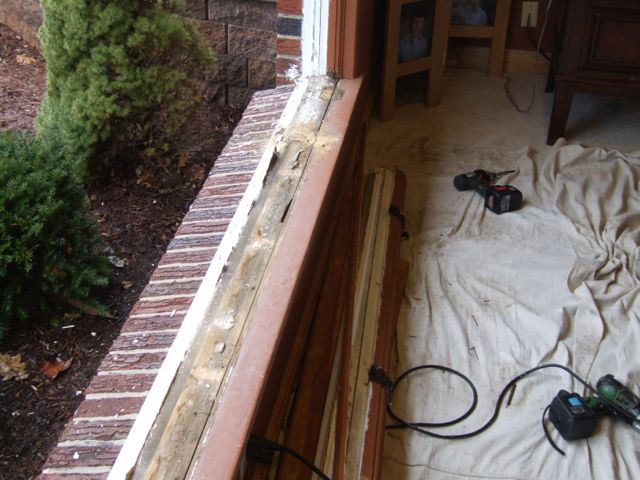
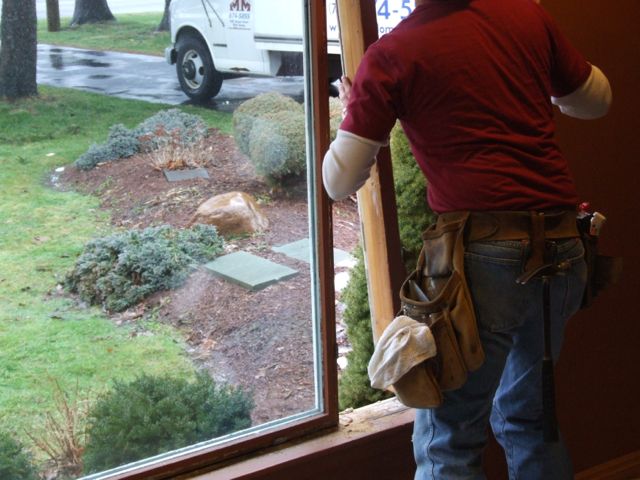
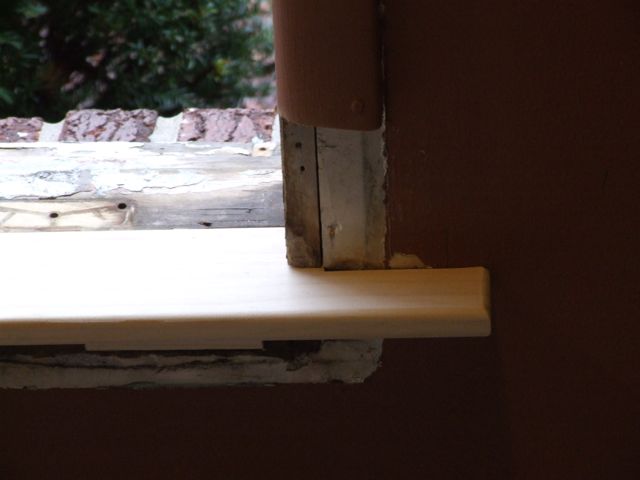
Here is what the sill looked like with the old windows out.
Then that sill was also removed to give a completely new fresh install.
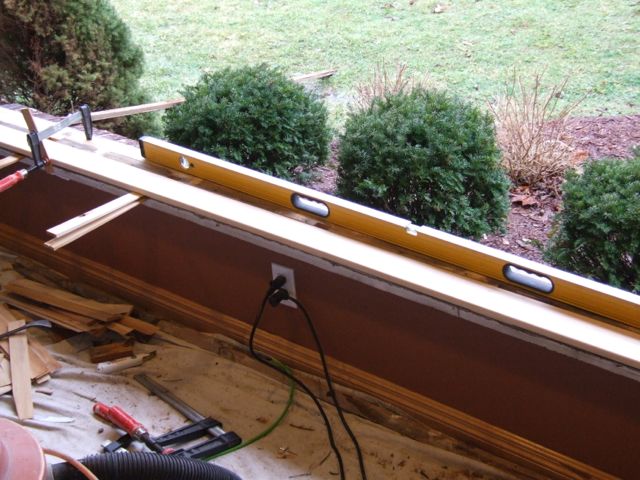
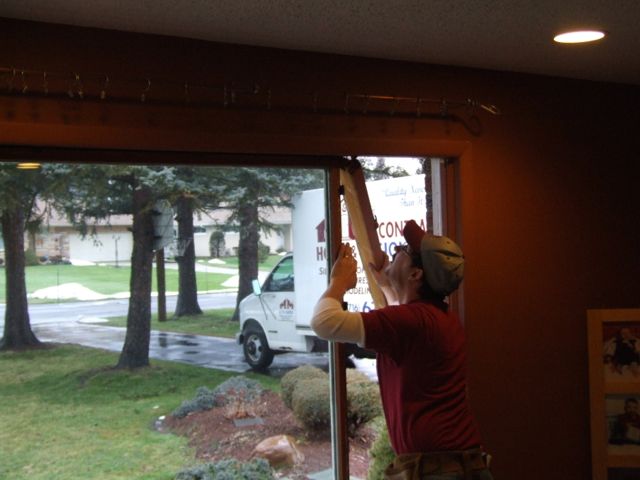
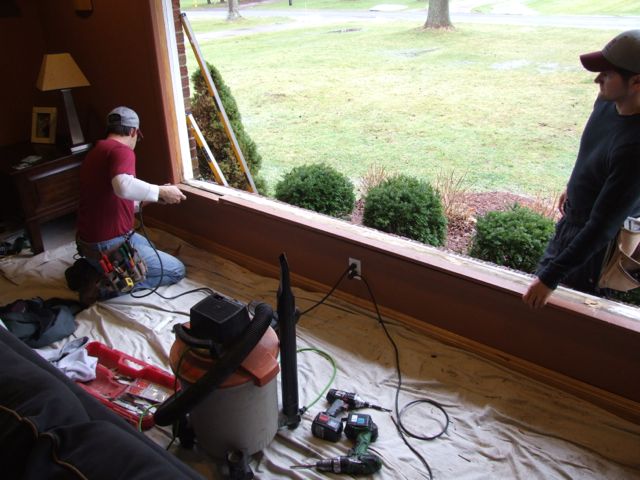
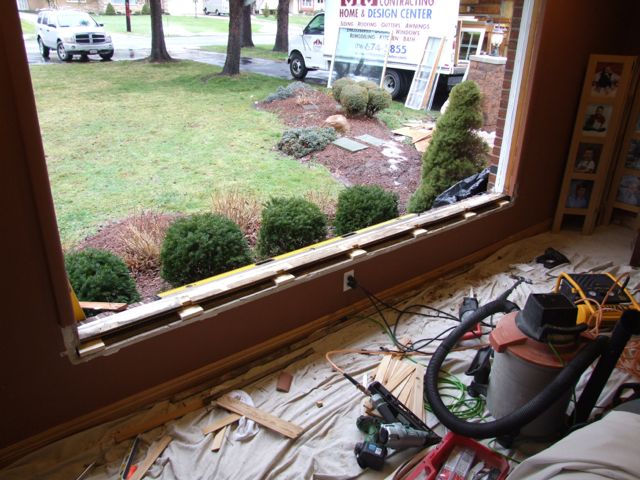
Then the new sill was cut and placed into the frame and leveled.
The guys did a nice job keeping the “tabs” close to the wall.
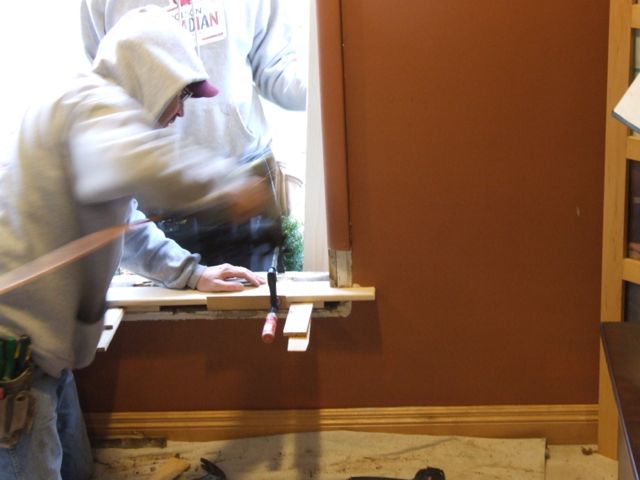
They clamped it in place and nailed it down.
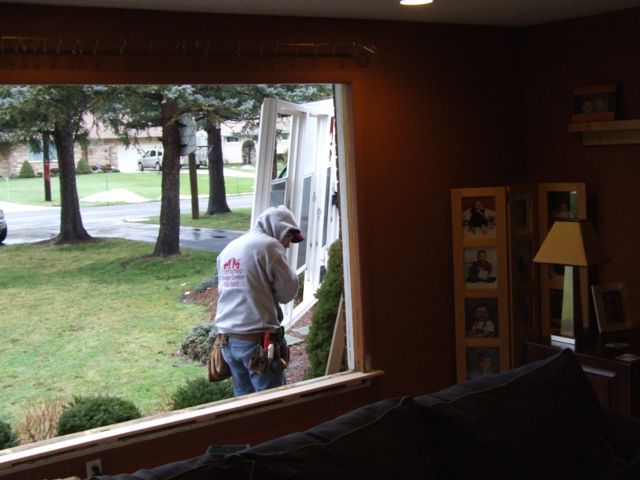
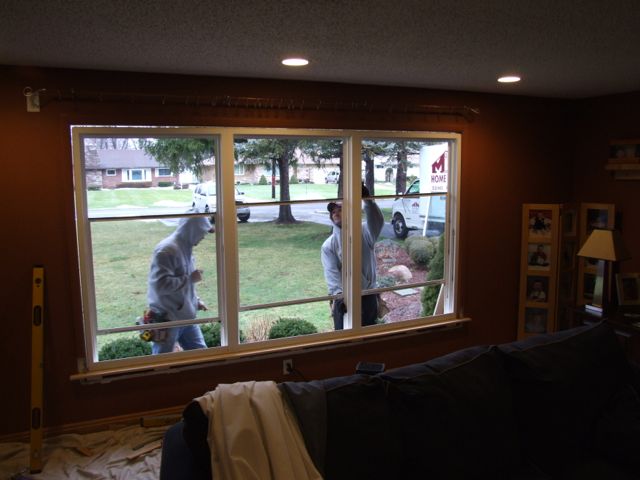
Here, they carry the new vinyl unit into place. This was 3 double hung windows already mulled together at the factory.
Also not that they are installing just the frame, the actual window sashes are not in the window yet. (the screens are)
The new window was manufactured by Seaway Manufacturing, in Erie Pa. It was ordered to size and it fit perfectly.
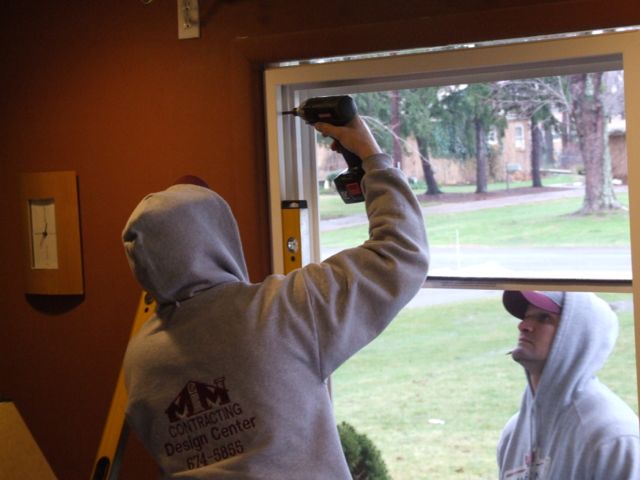
Here, they screw the new window into the window frame.
Here they shim the window before screwing to the frame. If you don’t have it shimmed, the screws will pull the window out of shape.
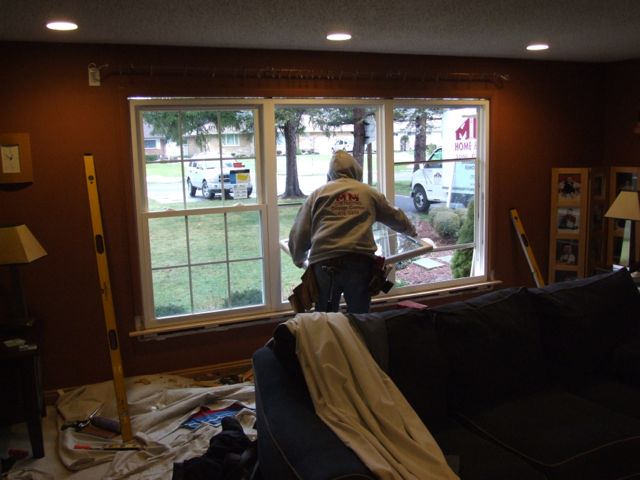
Here the installer in putting in the glass.
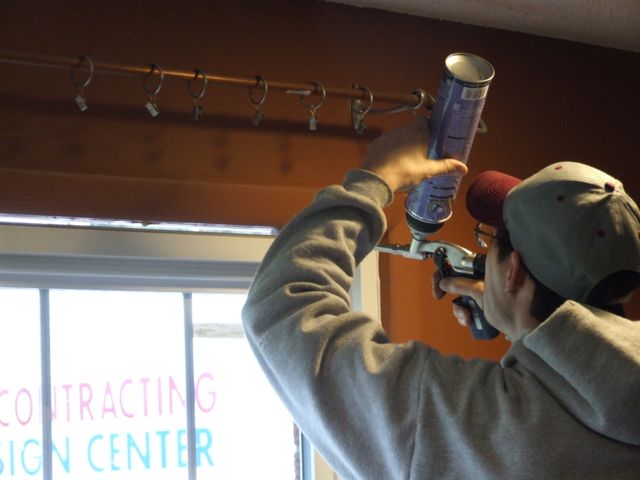
Here the installer is putting in expandable foam insulation around the entire gap.
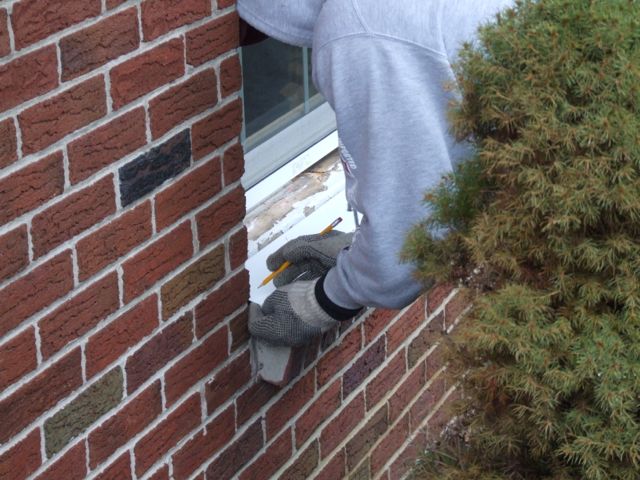
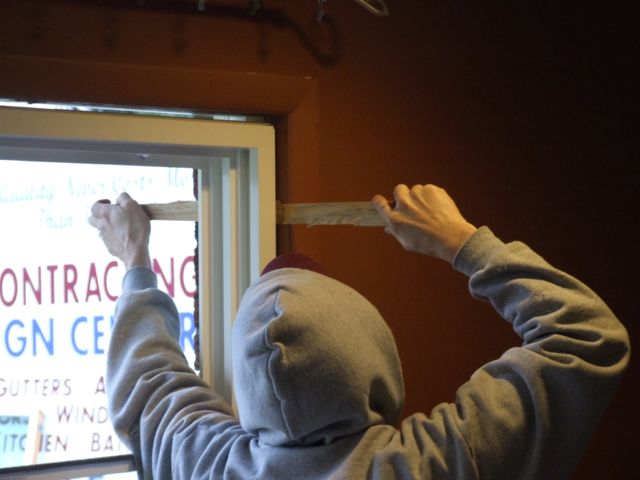
Here the installer is measuring for the aluminum trim cover for the exterior.

here is a shot of the metal trim installed.
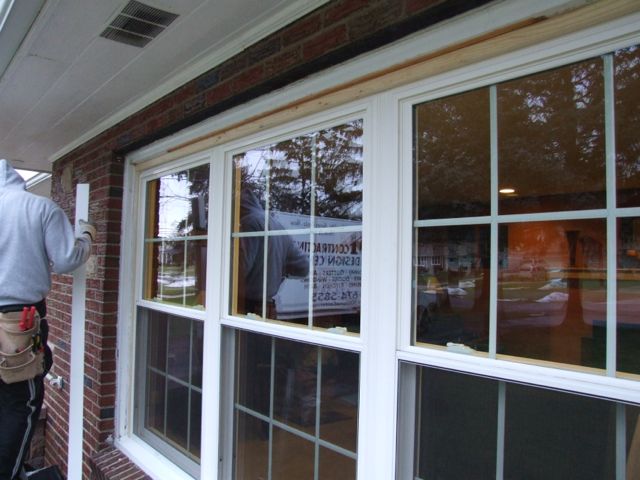
Aluminum trim being installed on the side of the window.
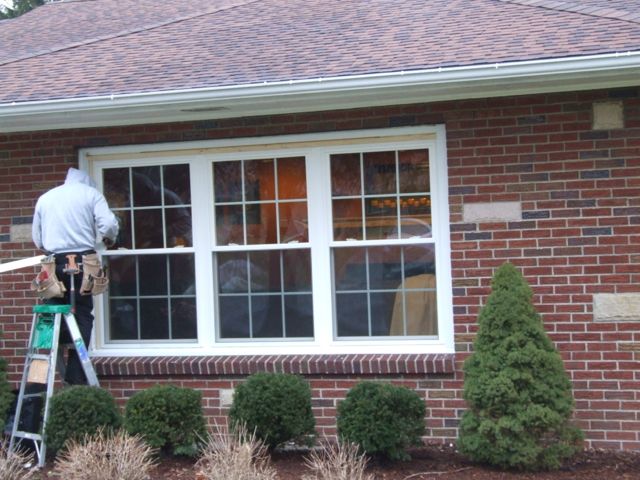
And the top….
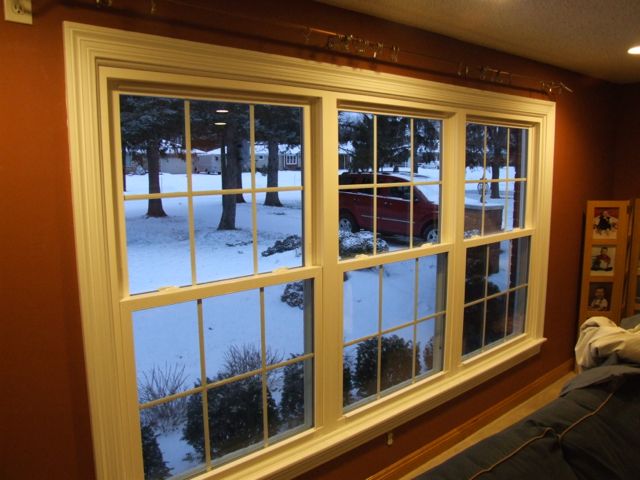
I did the interior trim work a few days later and this is how it came out.