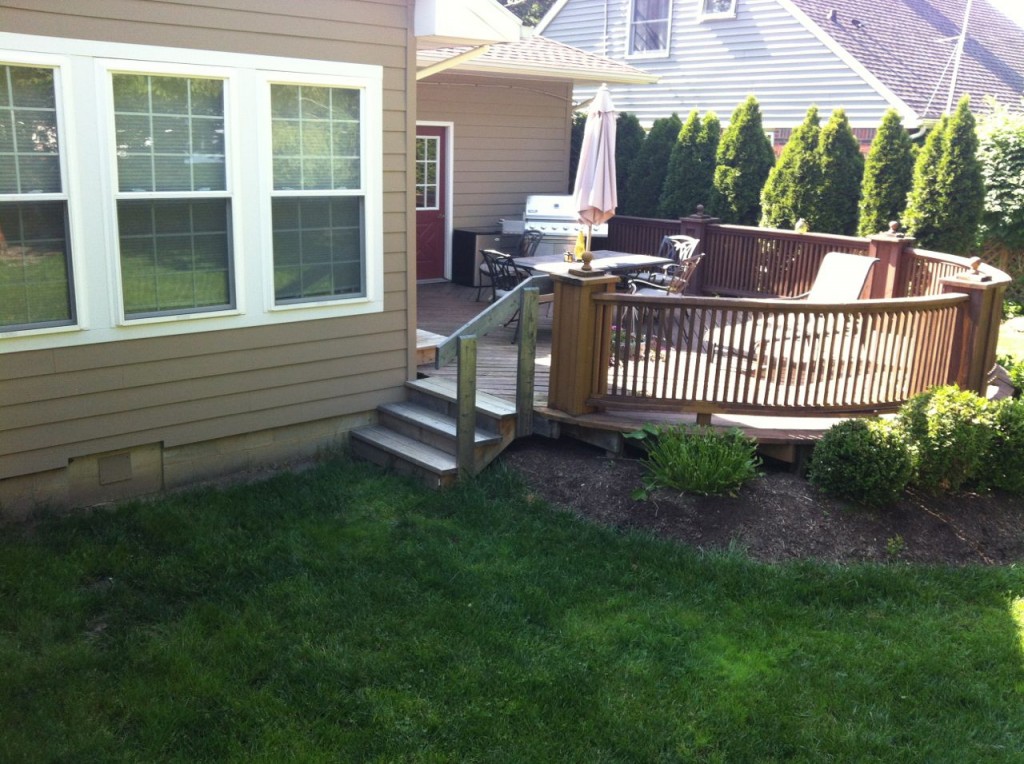
The Deck Before picture.
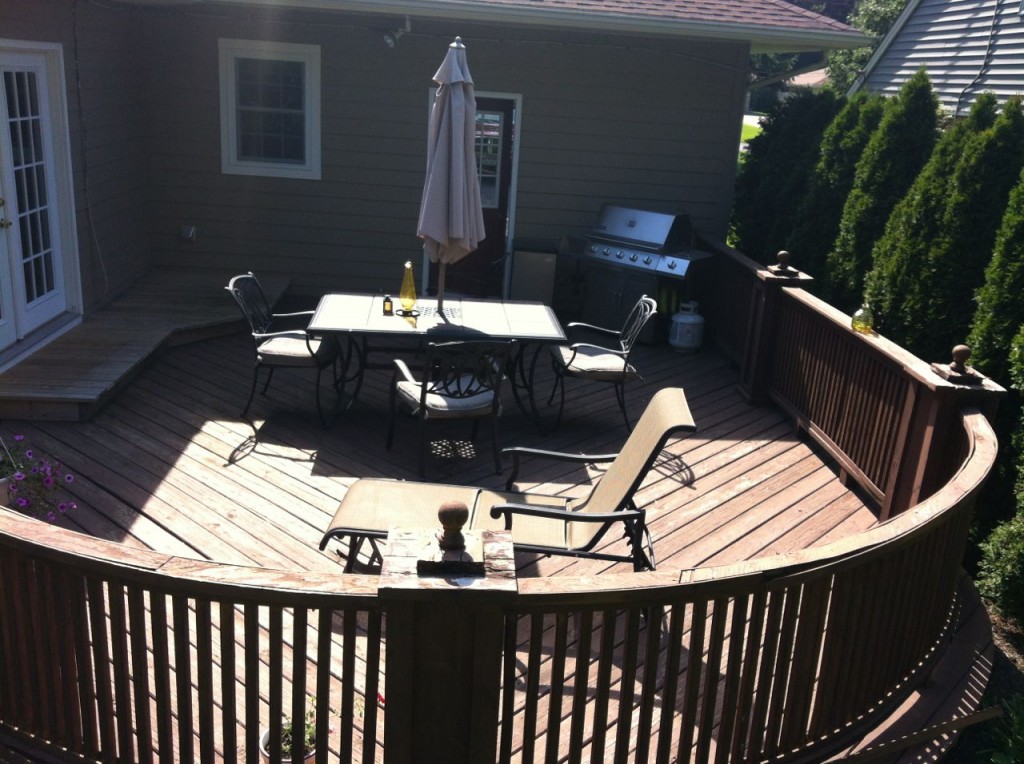
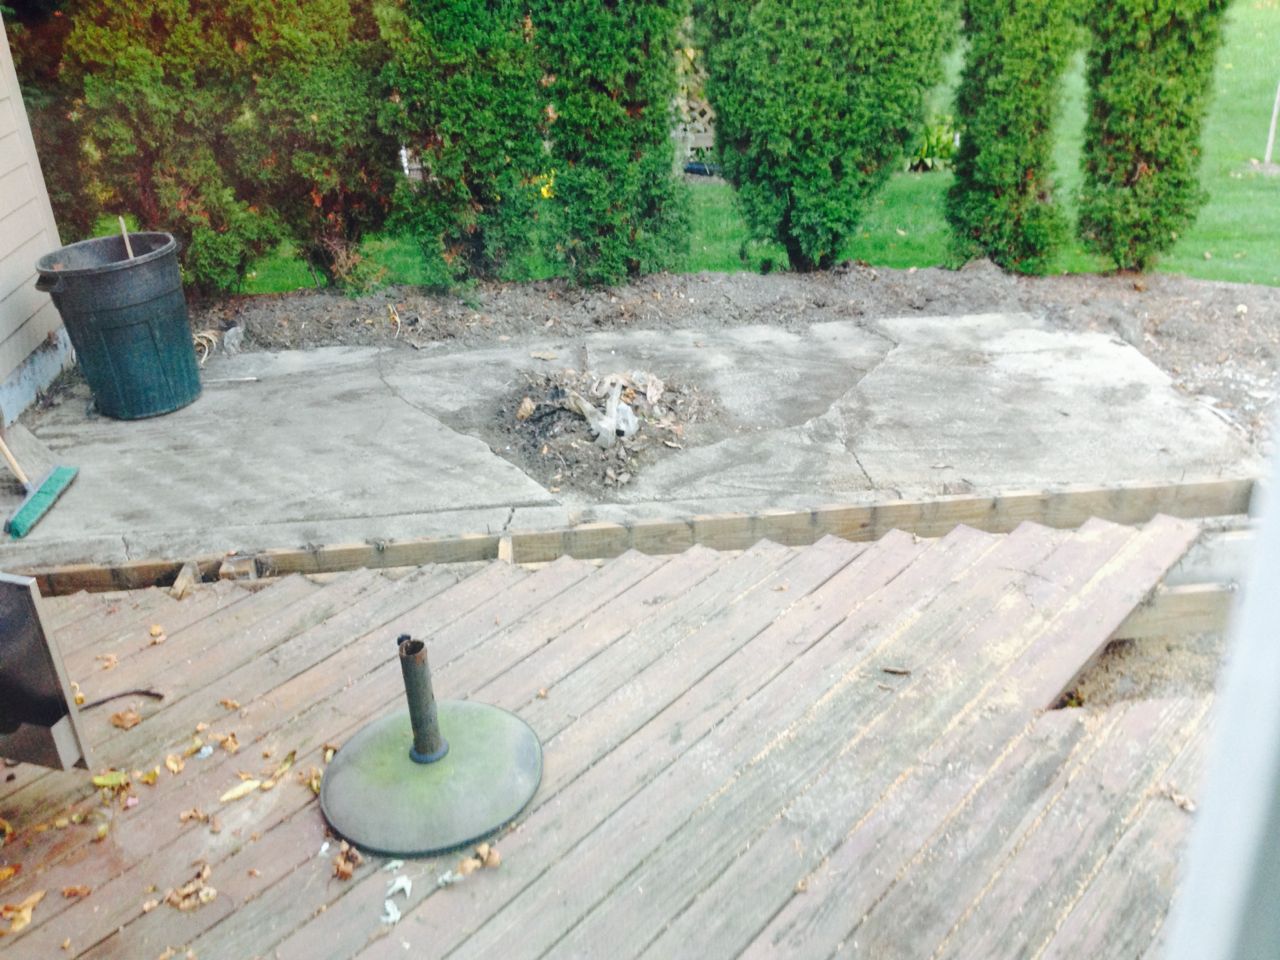
Another view of the deck Before. Notice the curved shape and railing. I hated to trash it but the railing was never sturdy and the deck boards were rotting and warping.
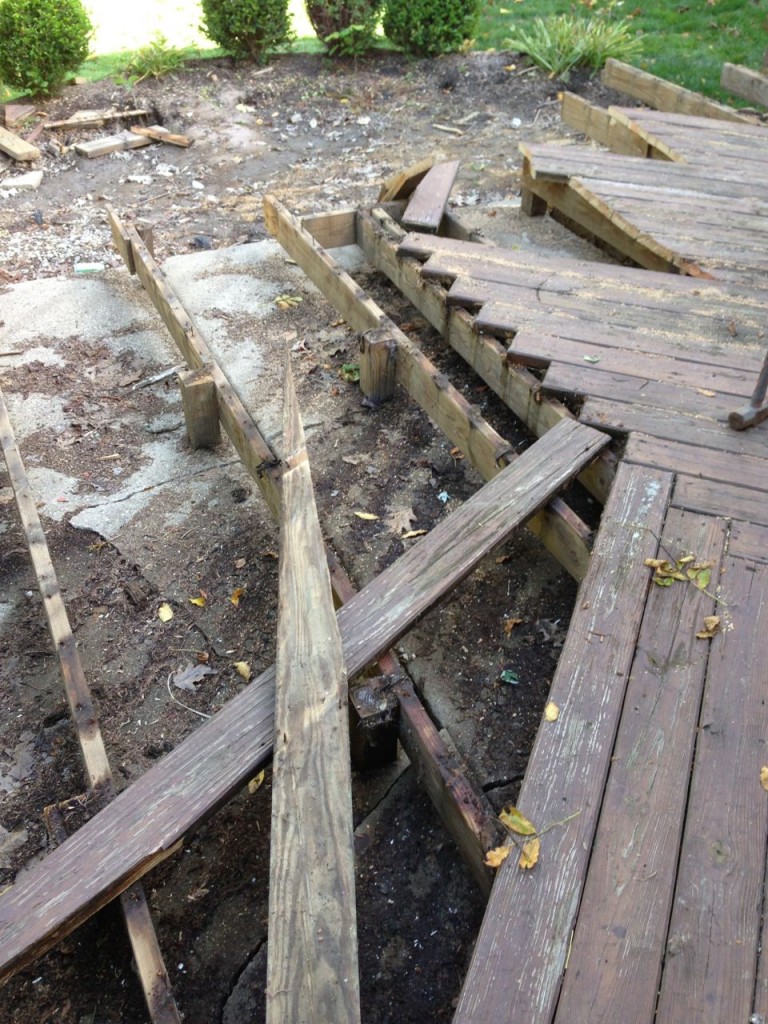
I started by removing the railing first. Since the deck was built as a “floating deck” there were no posts in the ground. The whole thing was just sitting on top of an old cement pad underneath.
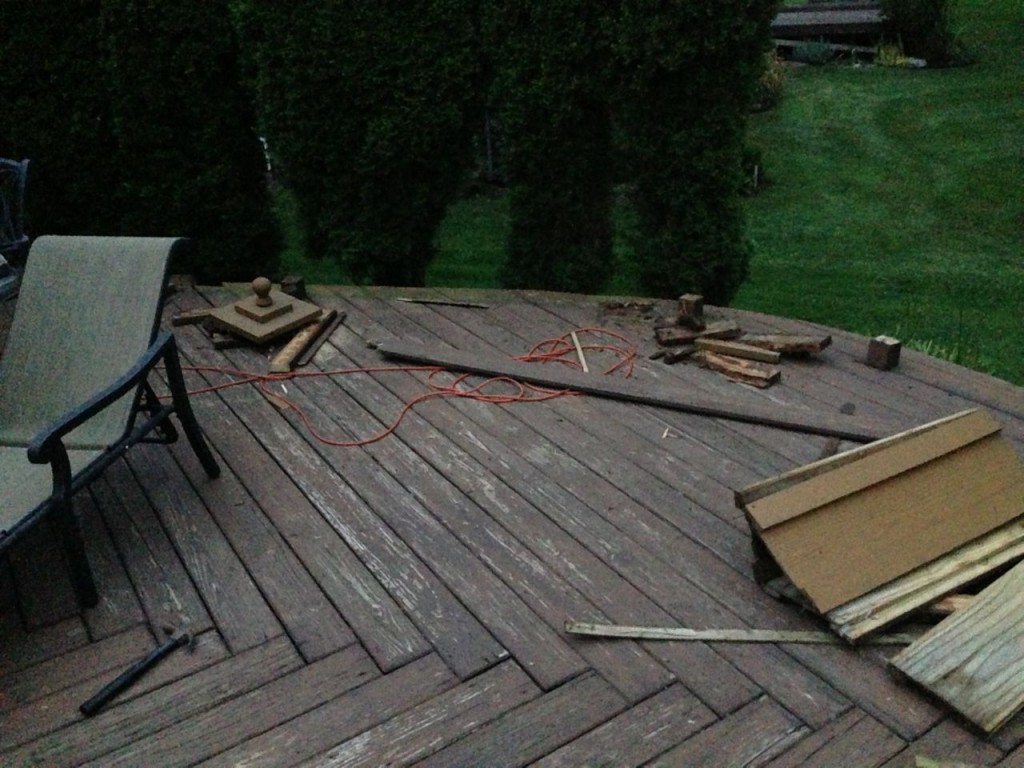
The removal of deck boards wasn’t too bad, I used a long prybar, (about 4 ft) to get under each board and just pop the screws.
After getting about 1/2 of the deck removed I cleaned up the debris underneath. This made for an easier time working on the 2nd half.
As you can see the old concrete pad is broken and shifted. We put in the floating deck as a temporary way to cover the ugly old patio until we were ready to tear it all out and put in new concrete. The temporary deck lasted about 15 years!!

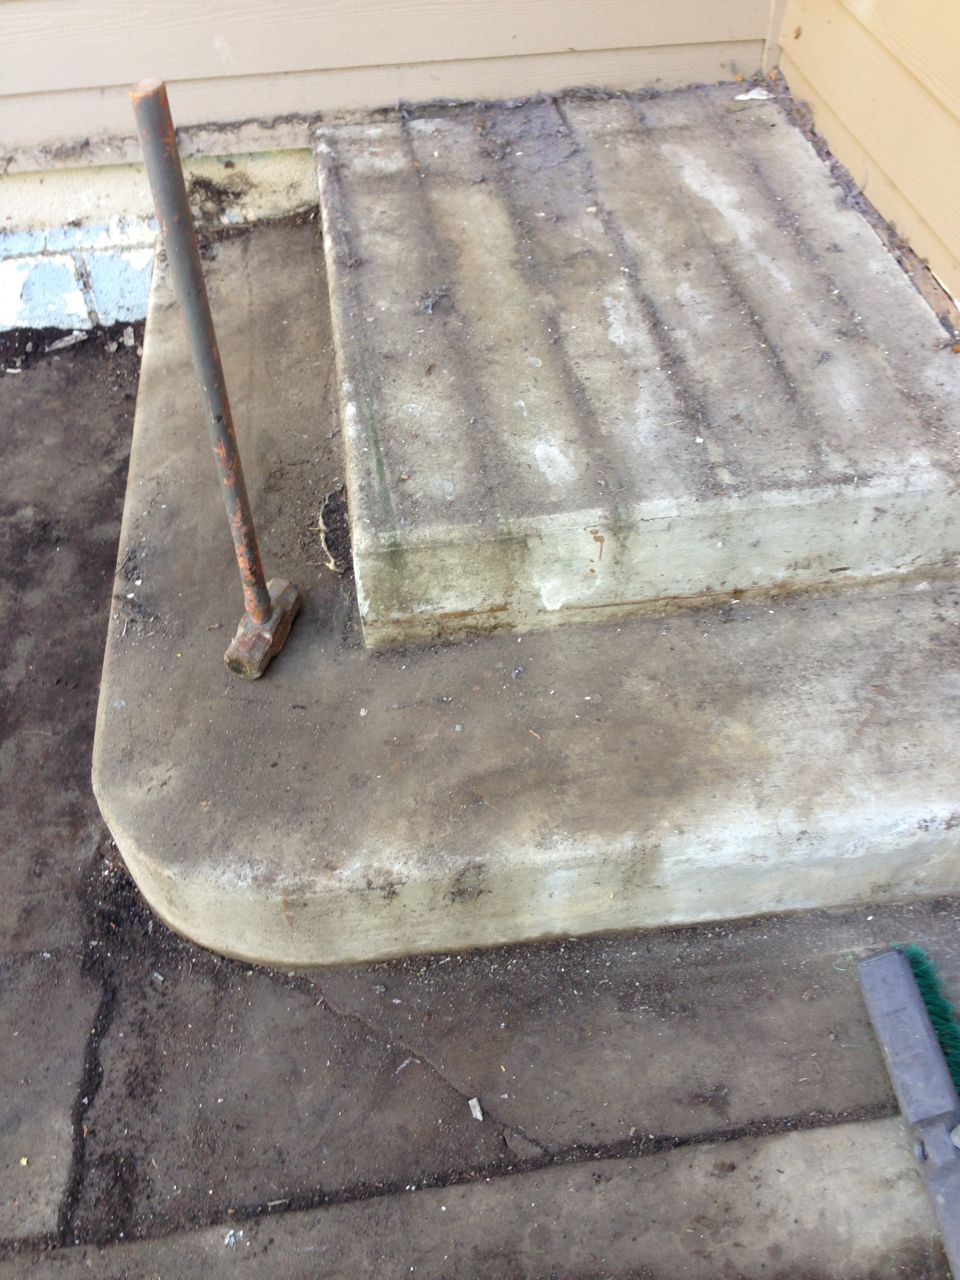
In the corner was a set of stairs that were poured in place and were SOLID concrete. My little sledge hammer just bounced off of them like a rubber mallet.

Luckily my contractor brought a jack hammer and he was able to remove the steps.

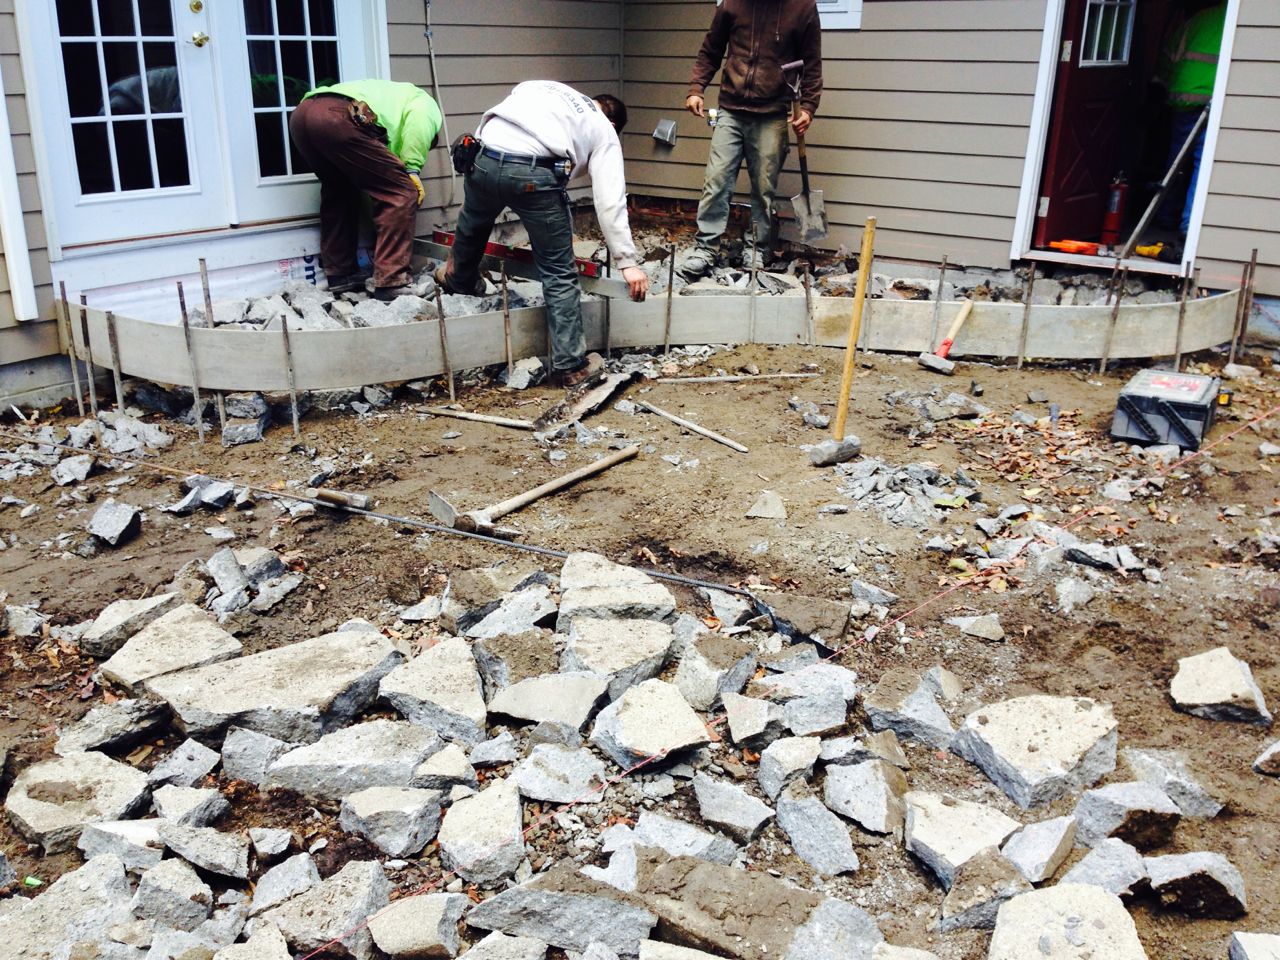
With the decking removed, it was time to start breaking up the old concrete.
Here is a pic of the old concrete patio just about fully broken up.
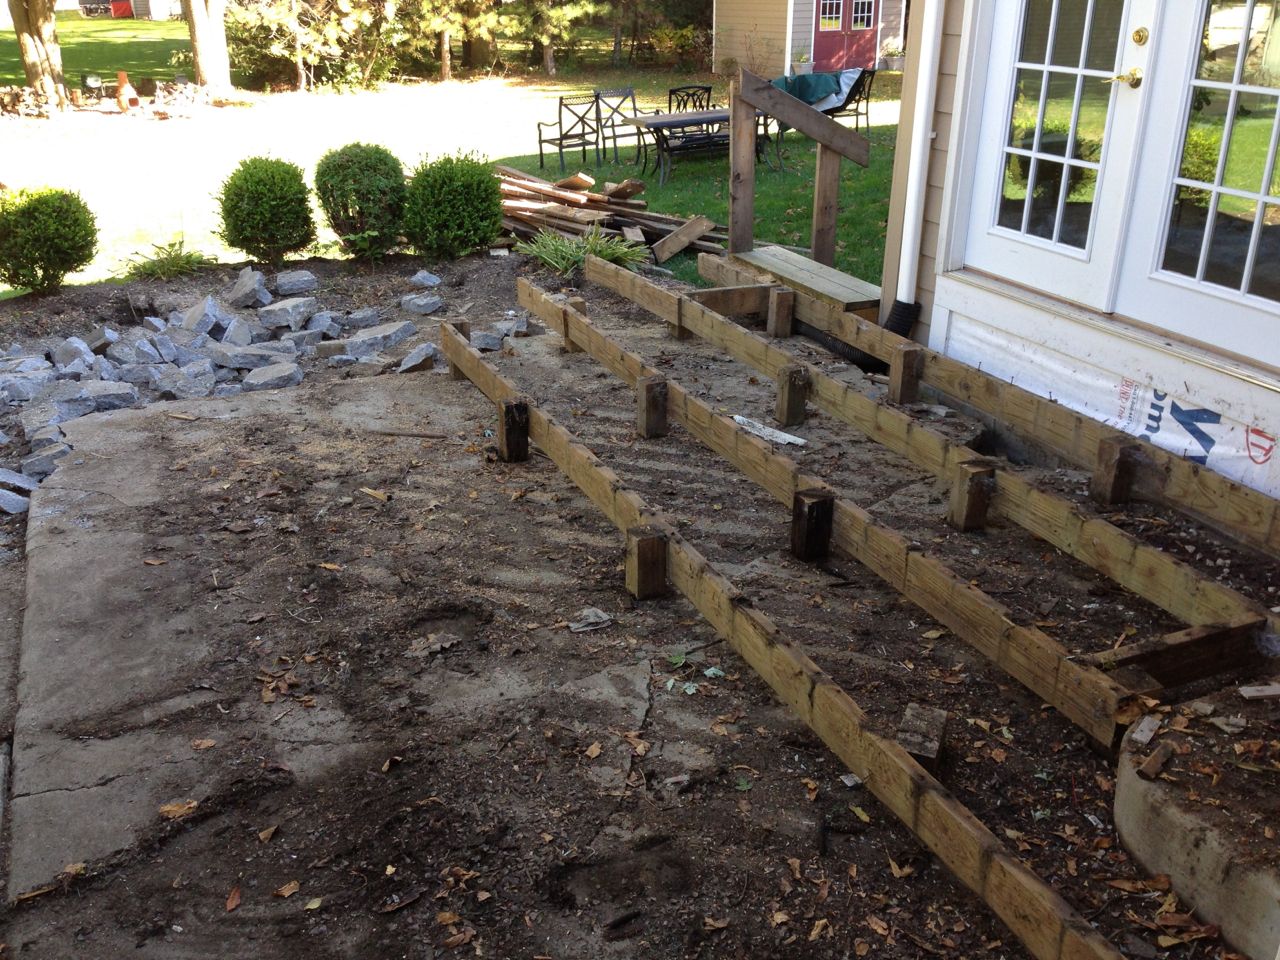
Then frame in the top step. The old step was used as fill.
I didn’t get any pics of the concrete actually being dumped in on the top step, but here they are finishing it.
Using a hand tool to put the joints in. Sometimes they cut the joints in after (to give the concrete a place top crack) but I requested the hand tool instead of cutting.
After the concrete sets up a bit they remove the form.
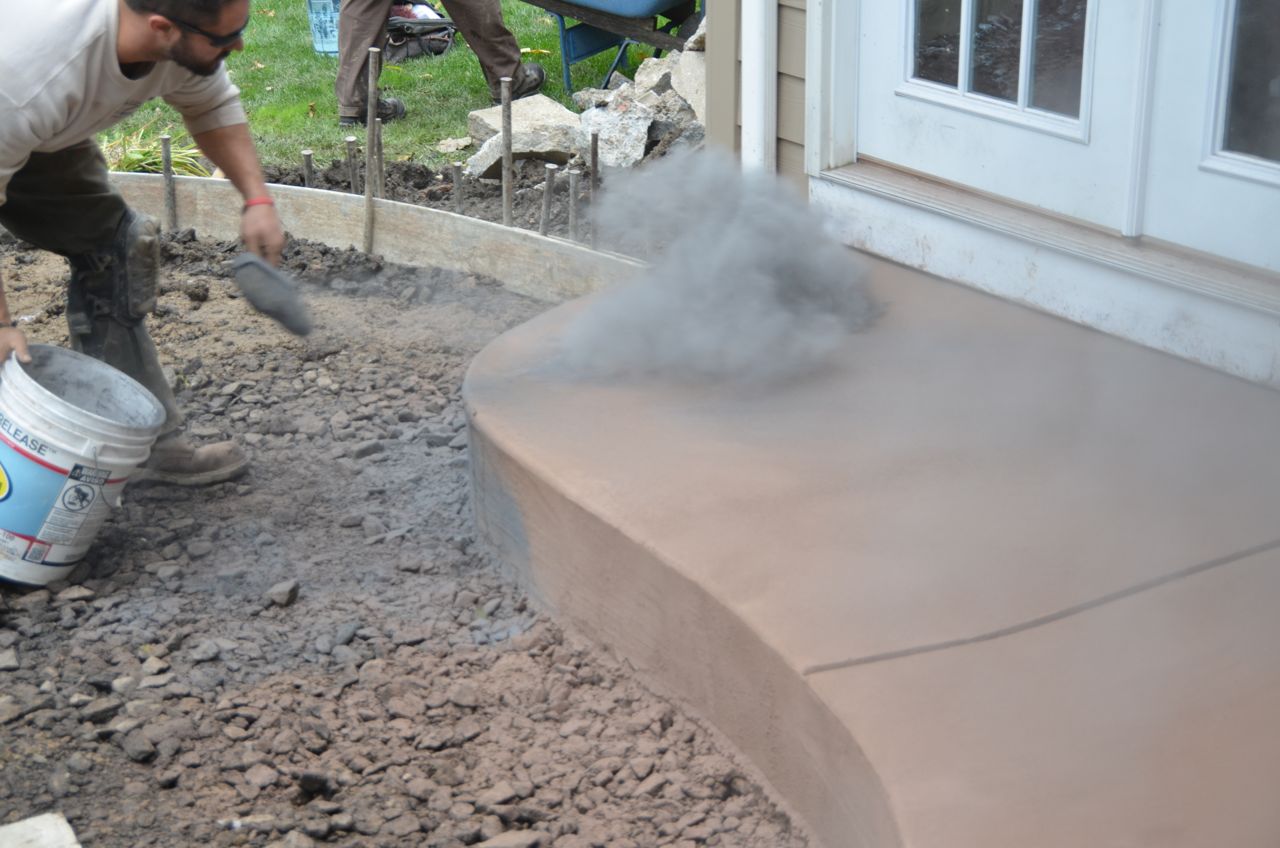
Then they start adding to 2 colors to the surface to create the color variations.

Once the color is down they can start the actual stamping of the concrete. They use large rubber mats to create the look.
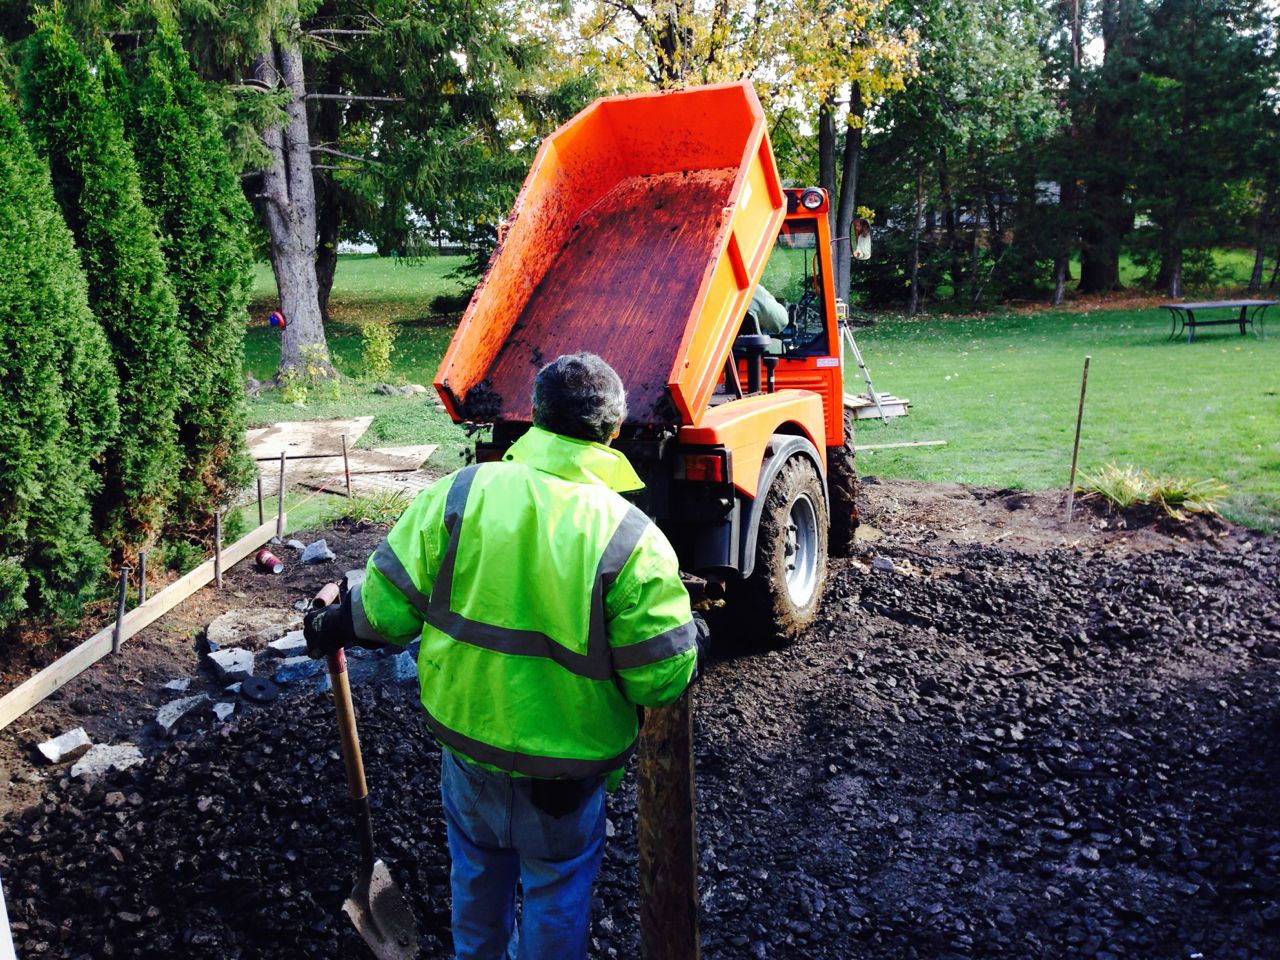
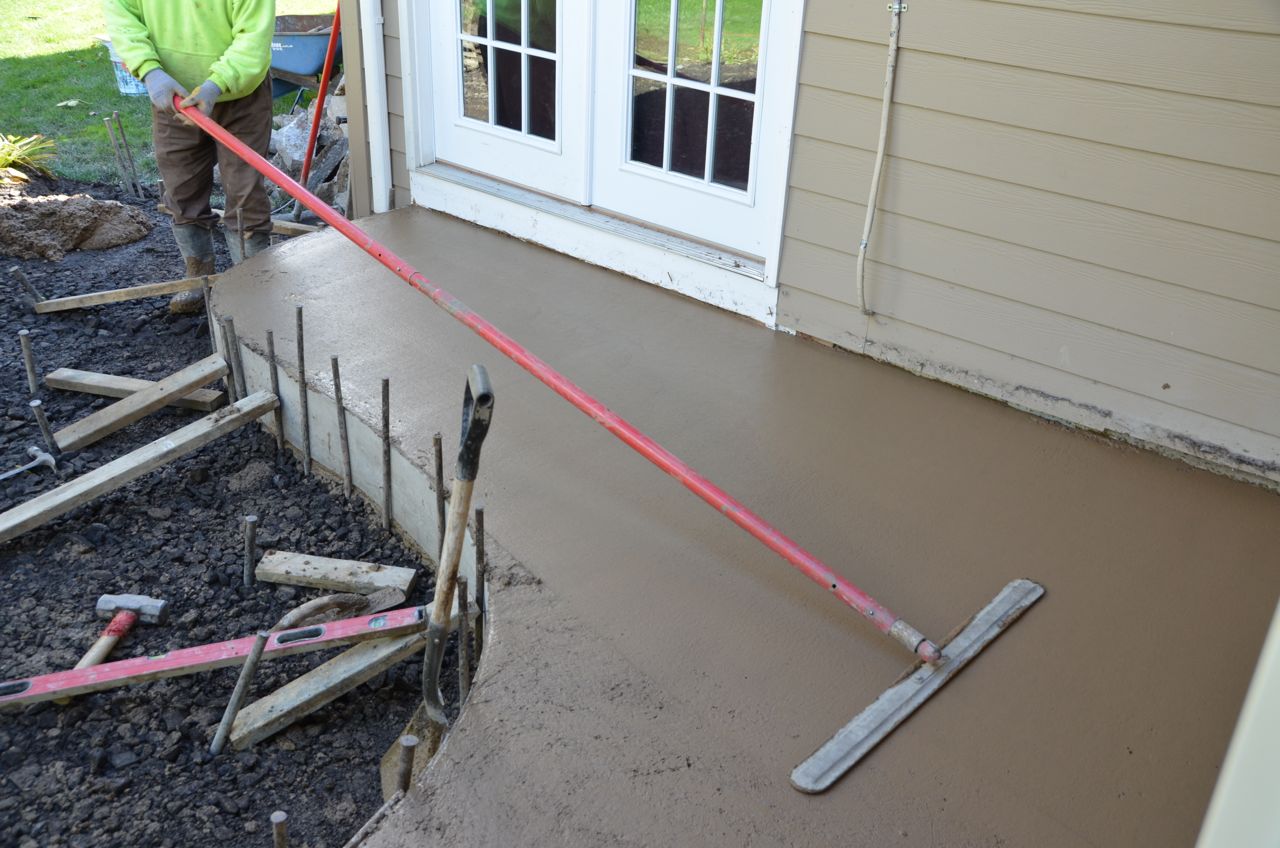
A few days later, with the step in place they leveled off the rest of the patio with about 10 tons of crushed stone.
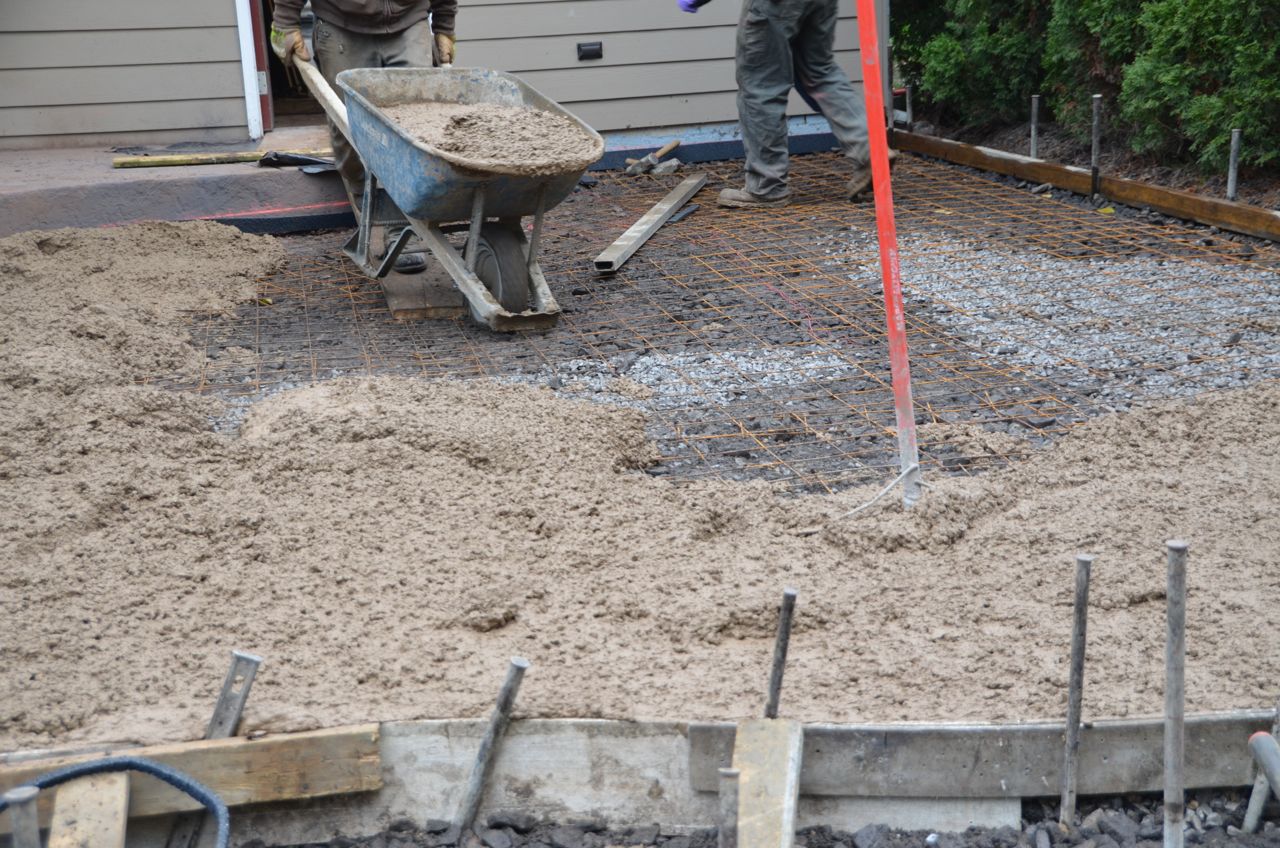
Then the cement truck arrived with same pre-colored concrete that was used on the step.

The contractors filled in all around the perimeter first, leaving an empty area in the middle to work from.
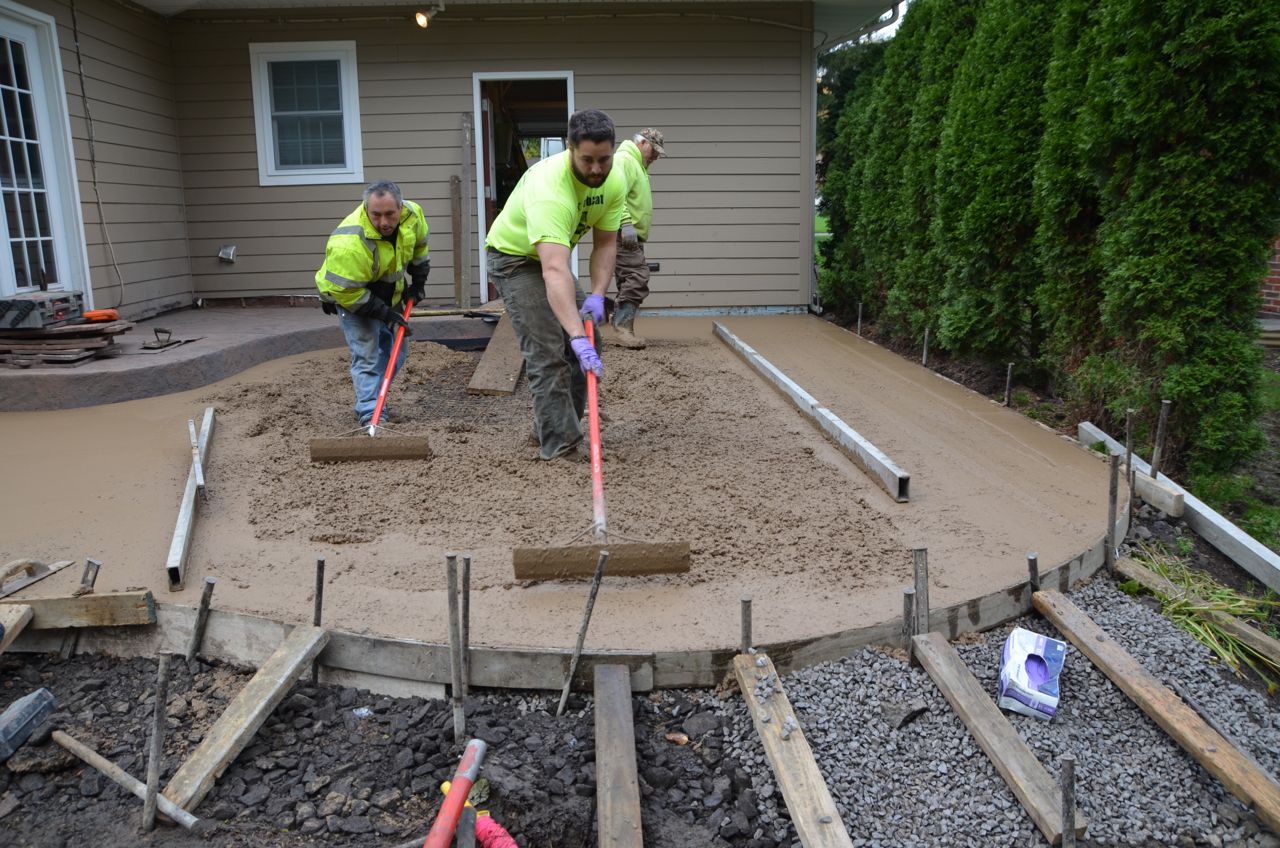
On a project of this size you need a few guys to keep up with the concrete.
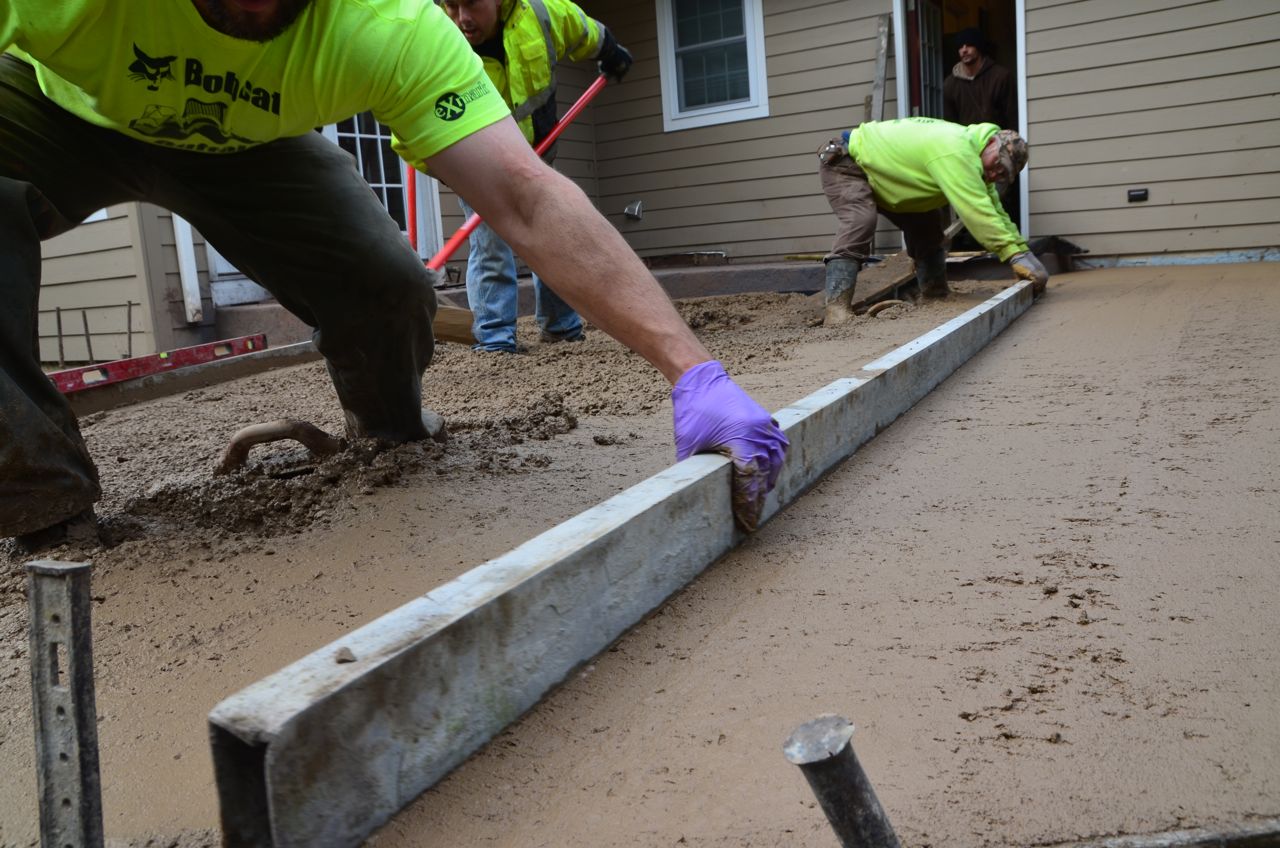
Here they are leveling the concrete with a 12′ straight edge. This takes quite a while. The idea is to get it with no low spots and pitched the right way so water runs off of it.
With the concrete filling in, its time to get started on the edges.

Now, with the whole thing filled in, it’s time to smooth out the surface. Notice all the support for the framing. Concrete is incredibly heavy and will push the forms right over if they are not very secure.
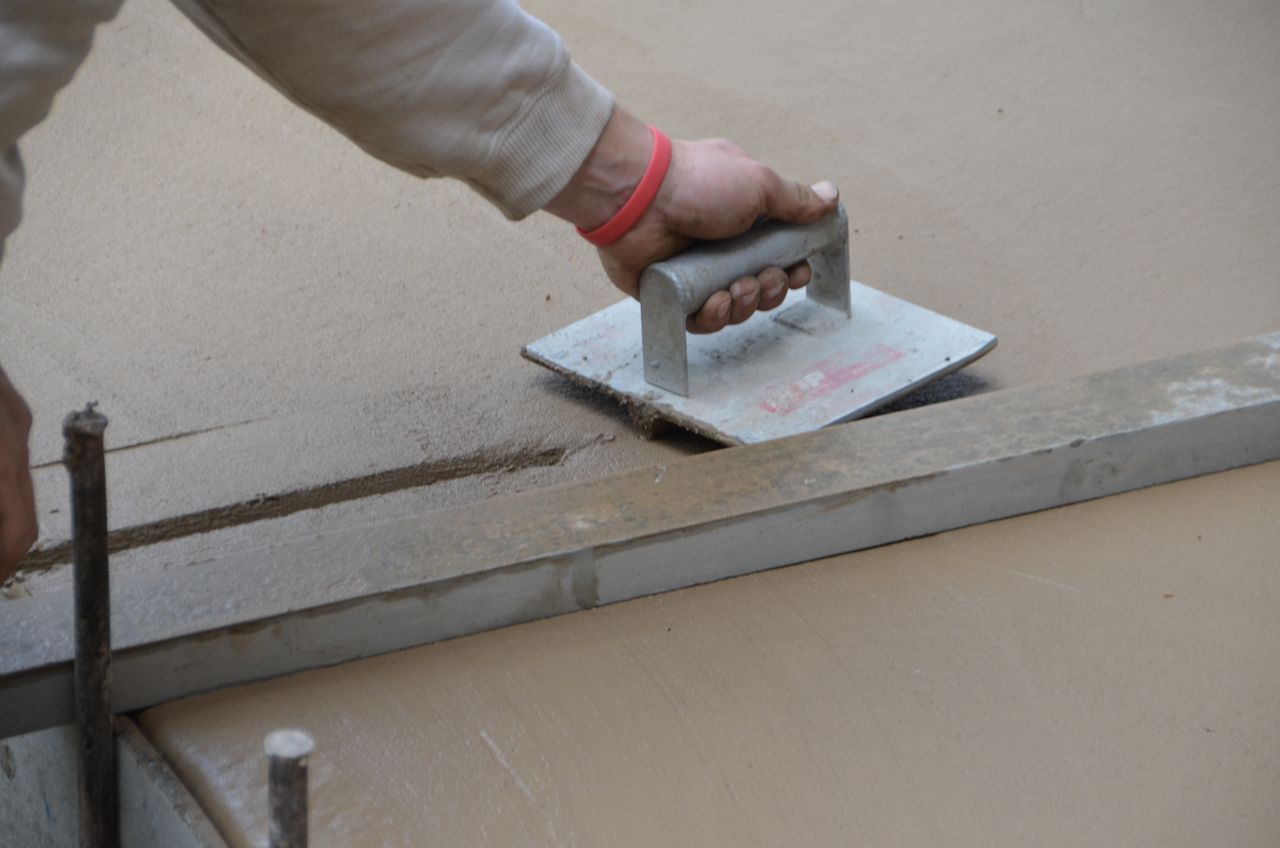
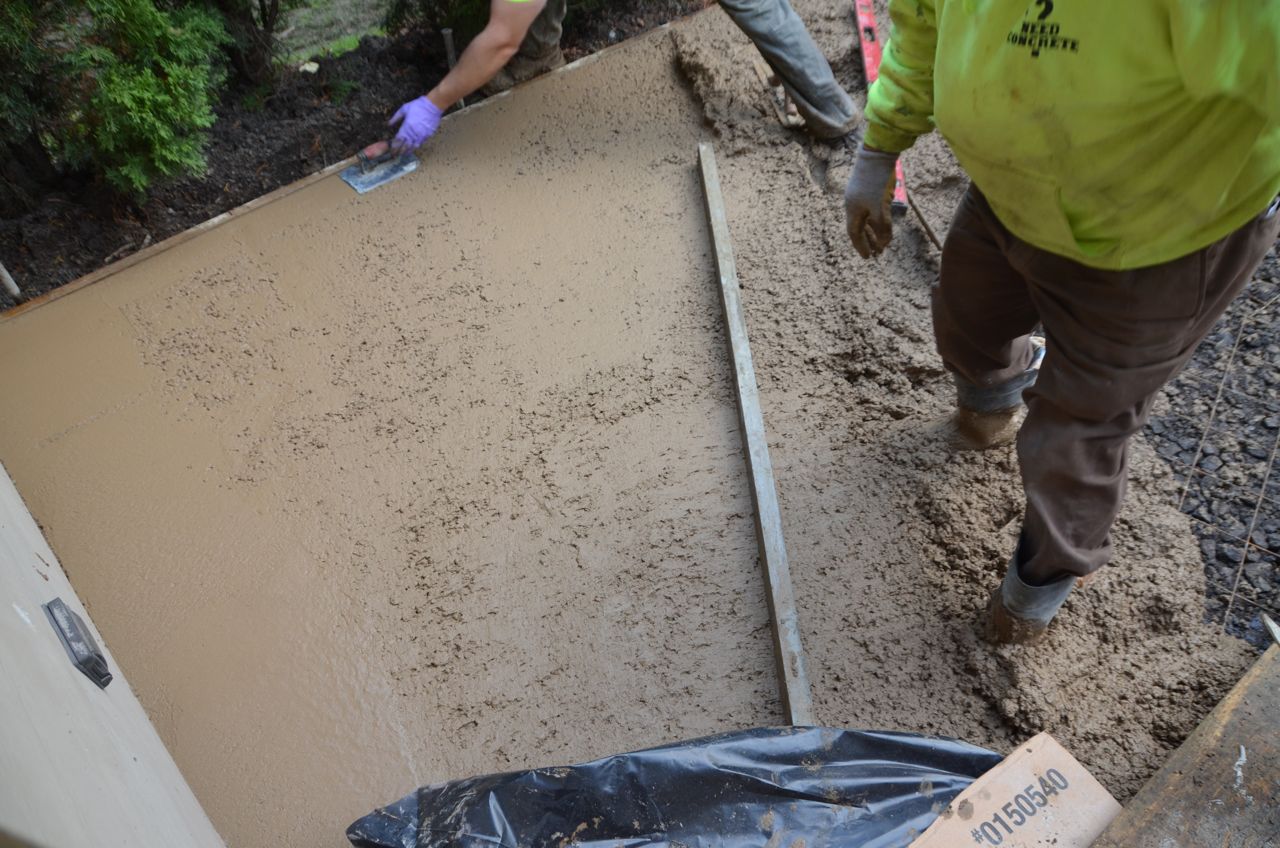
Here they “float” the concrete. This tool tilts with a twist to allow the user to gently float it across the top without digging in.

Once the concrete starts to stiffen up you can go right on on it. Here the contractor fixes any bad spots and uses his leaf blower to clean off spots that had evergreen tree junk on them.

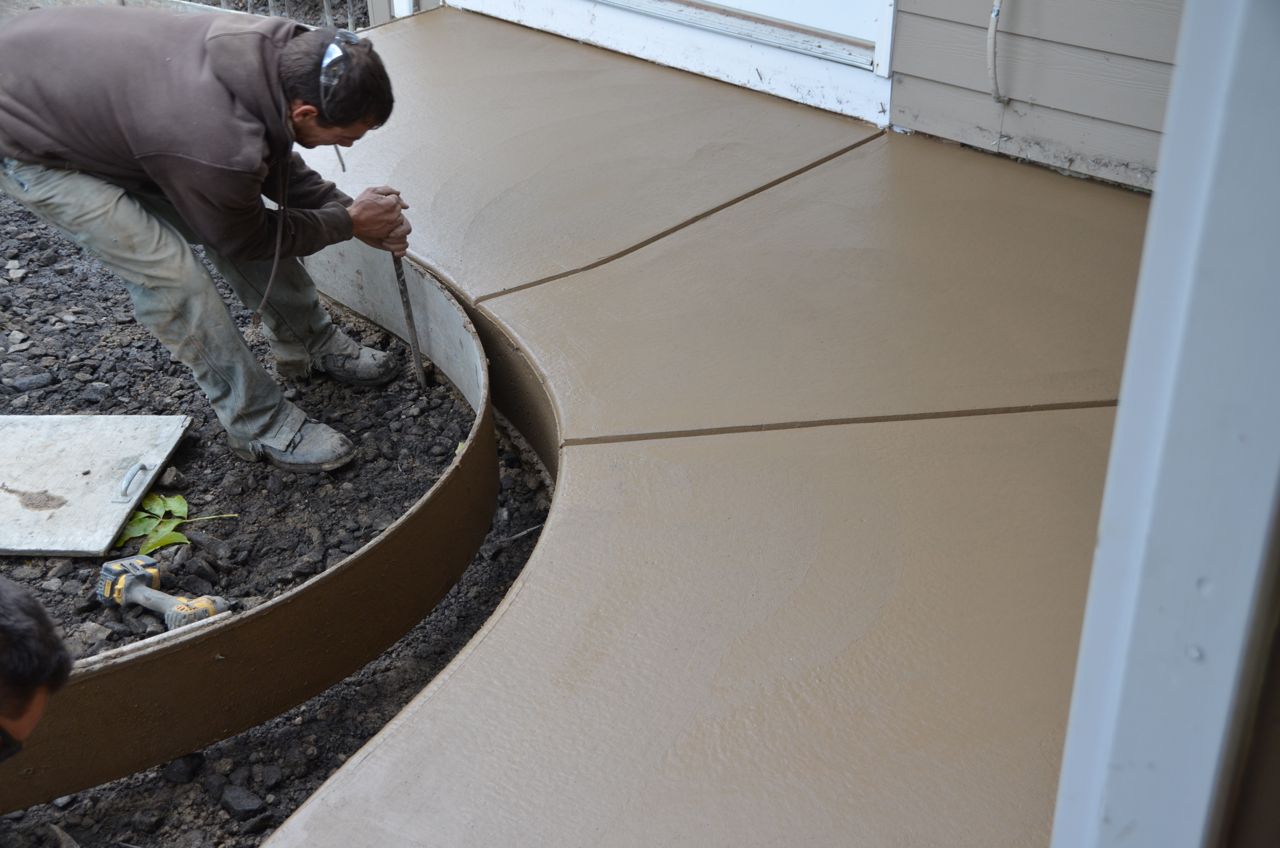
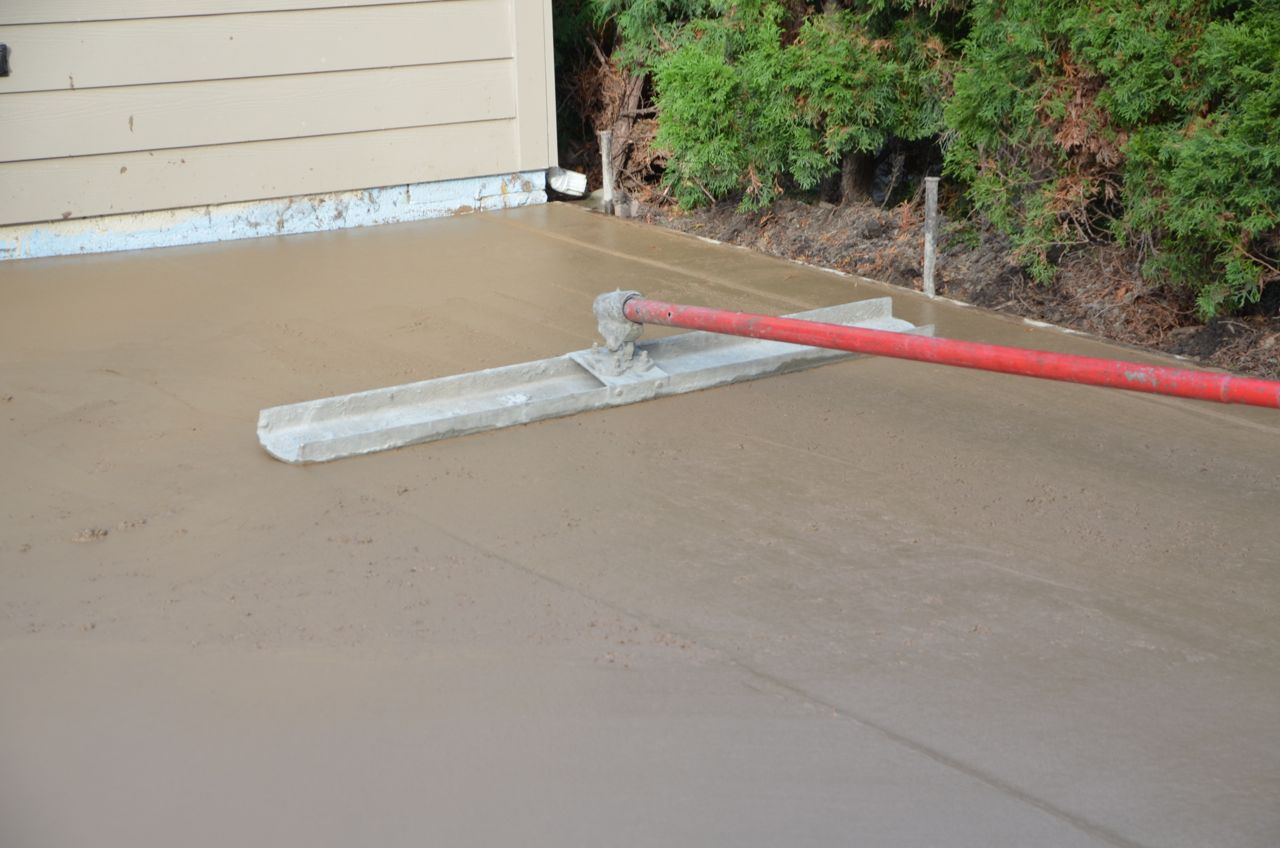
Joints are added to allow for cracking. All concrete will crack. This helps to control where it cracks.

More edge work, creating a border with a hand tool. The border then gets a different pattern than the rest of the patio.
Here it is edged and ready for stamping.
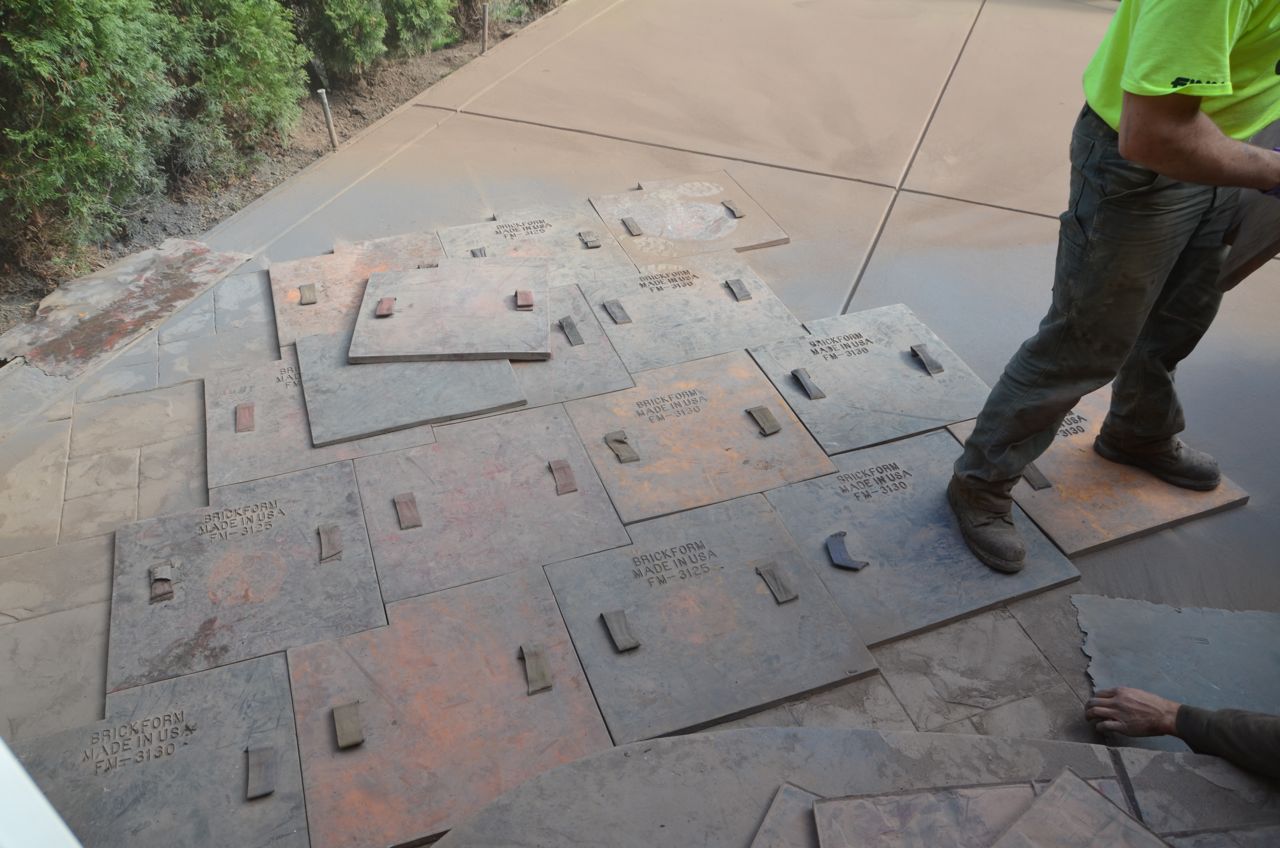
First the color powder is laid down then the stamps are placed and walked on.
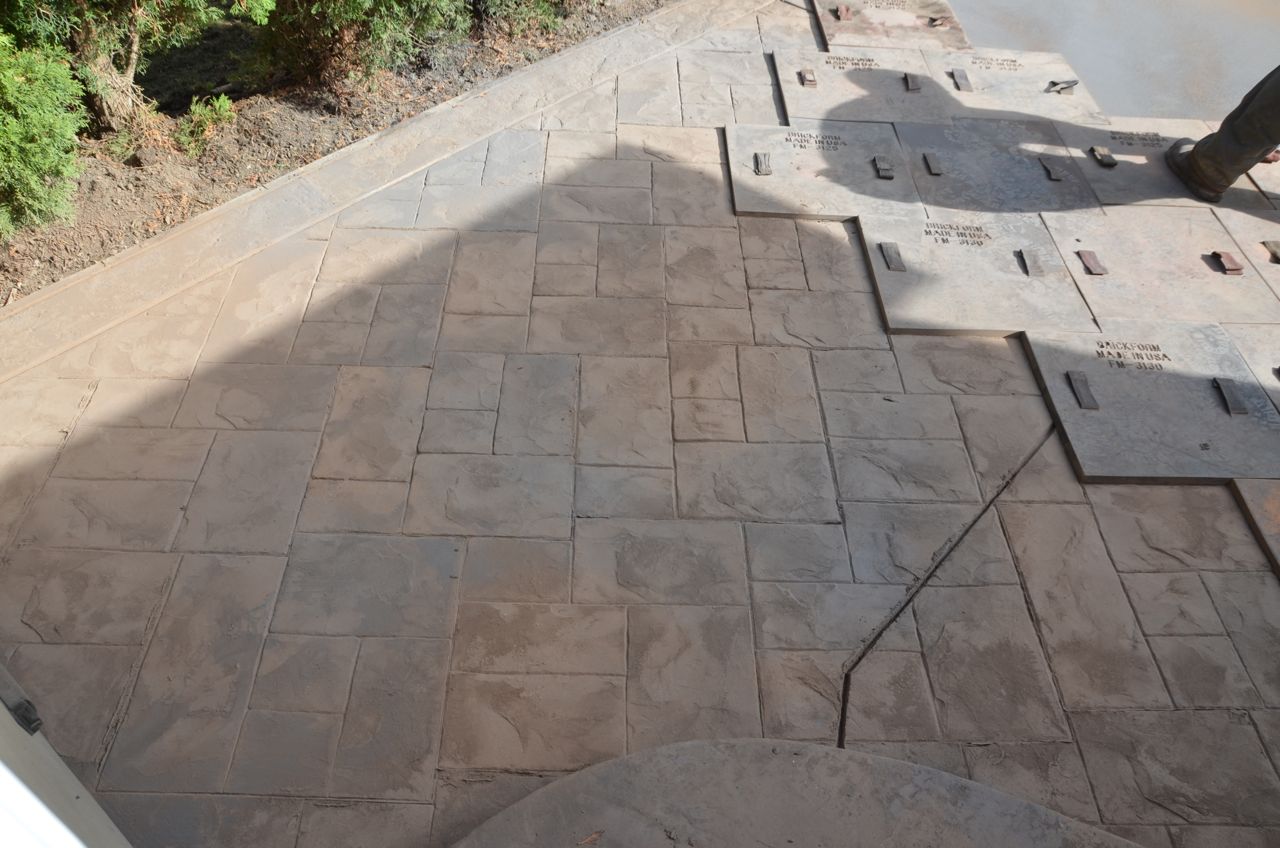
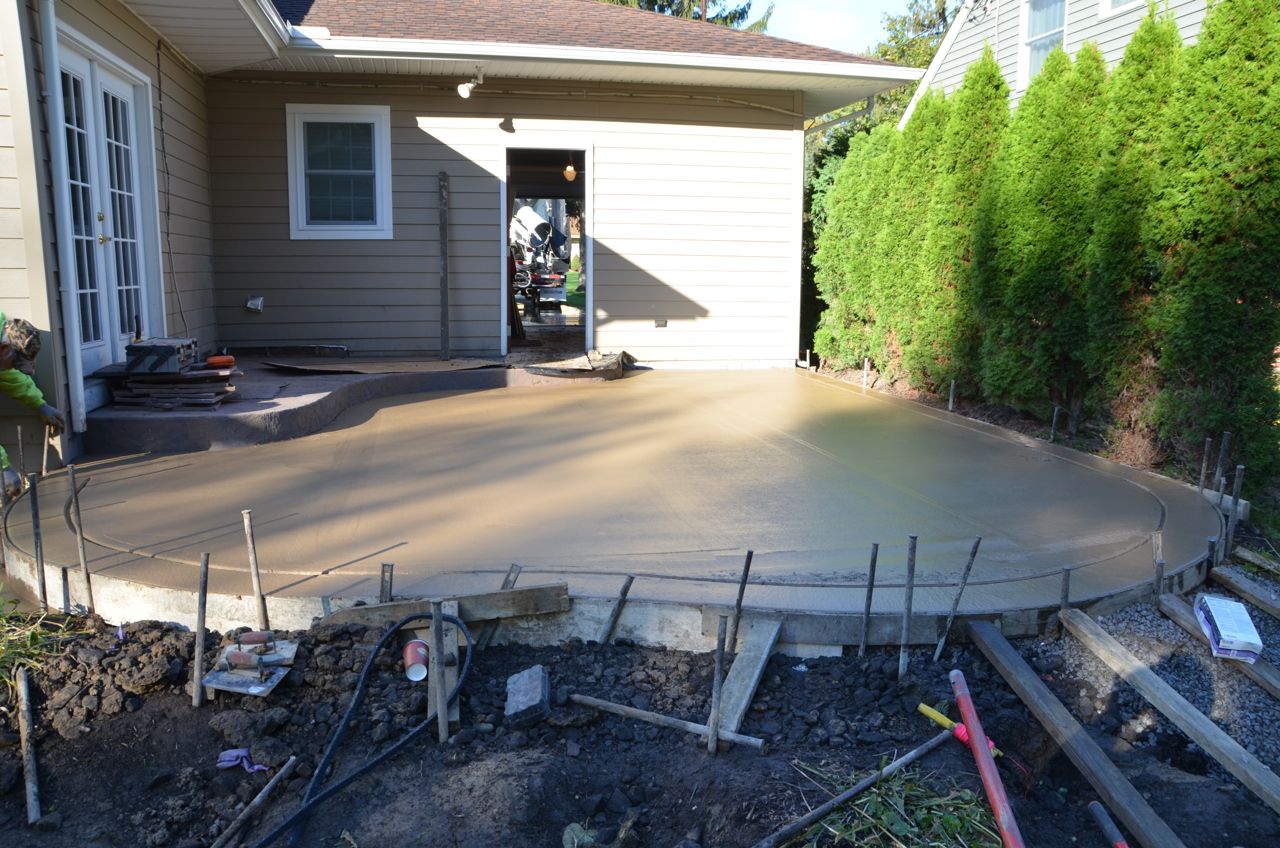
Starting to come together now.
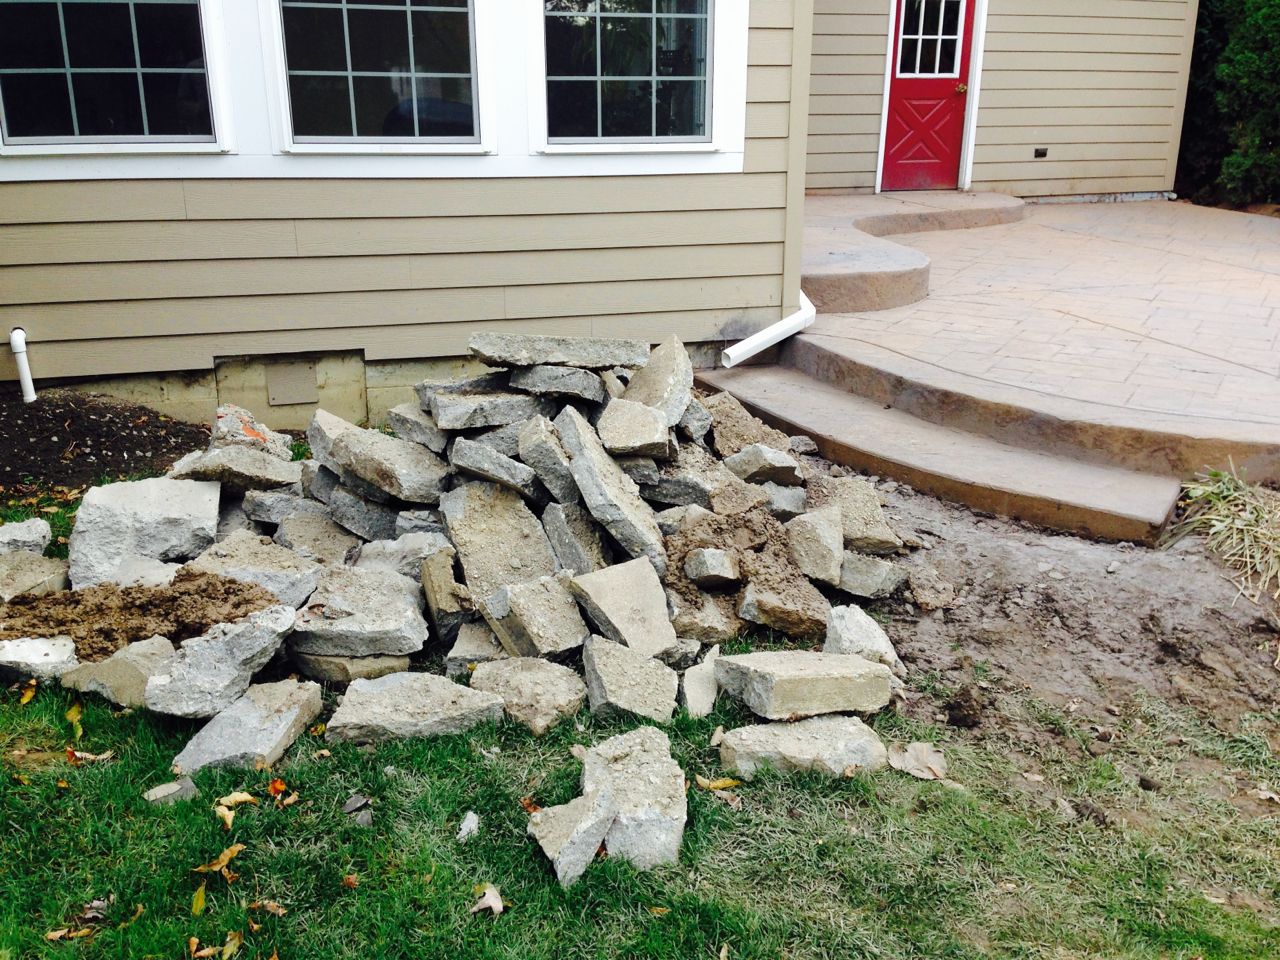
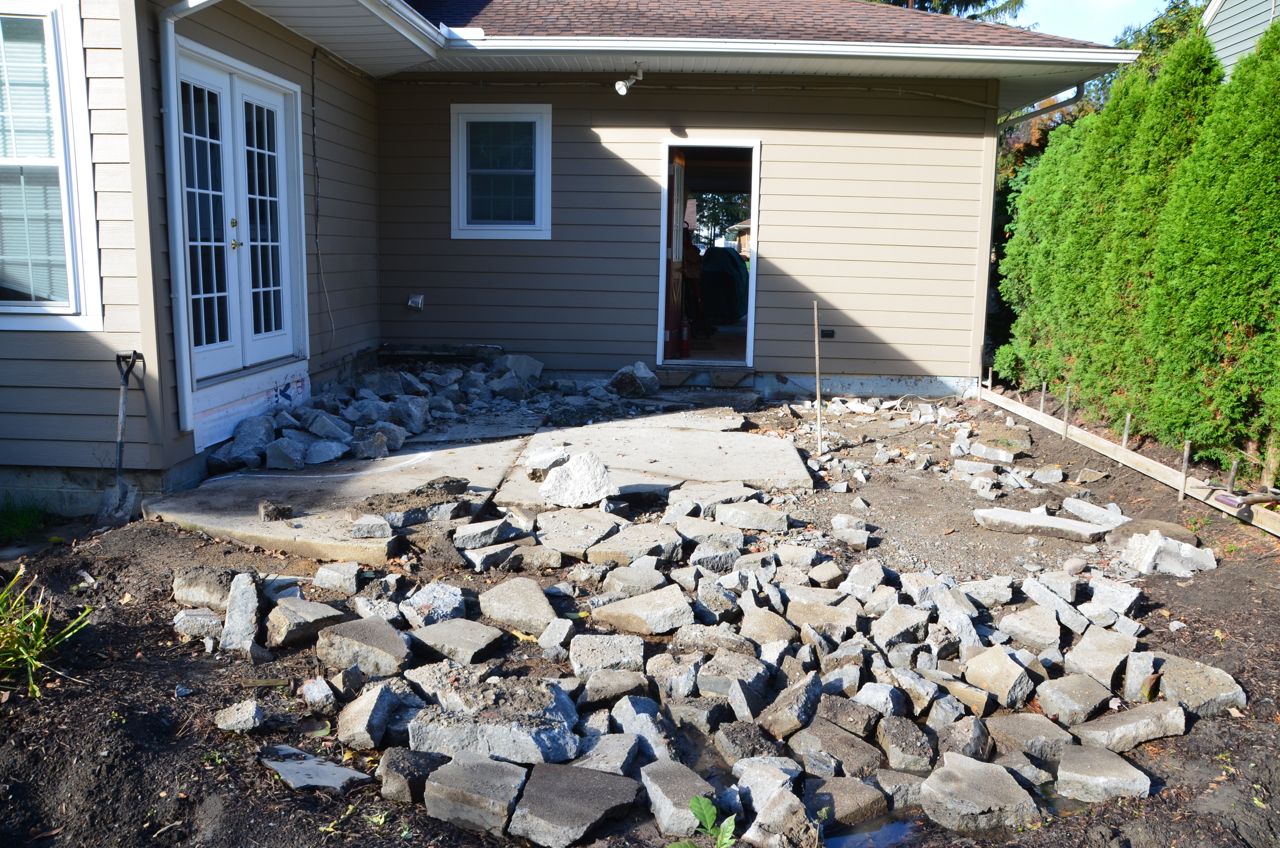
Here is a photo of the extra pile of broken concrete with the step and patio in the background. Still lots of work to do to get that all removed and landscaping done and grass planted.